LAVABOS
DOCUMENTATION, INSTRUCTIONS AND GUARANTEES
1. GENERAL CONDITIONS AND GUARANTEES
ONAREA® guarantees its products and components against any lack of conformity as long as proper use is made.
of the same and with a correct installation. The company is not responsible for problems arising from incorrect placement or improper use of the product. It will not be responsible for extraordinary expenses such as the replacement of screens, tiles or any element as a result of misuse or poor installation. ONAREA® guarantees its products for 24 months, except for wear parts as indicated in the guarantee law. For this, it is necessary to save this document for possible incidents/consultations where the serial number of the product is indicated.
The guarantee is extinguished once the 24 months have elapsed. From this moment on, technical assistance will be borne by the user. Take these rules into consideration as no claims will be filed for these reasons.
2. ELEMENTS AND DELIVERY CONDITIONS
ONAREA® shower trays are delivered with individual, high-resistance packaging to avoid incidents during transport. Each plate is shipped with the following items:
· Graphic assembly instructions.
· Certificate of guarantee.
· ONAREA® design grille.
· Evacuation siphon.
· Adapter tubes.
· Declaration of benefits.
· Dimensions have a tolerance of +/- 2mm.
3.TERMS OF USE
For daily cleaning, it is advisable to rinse the shower tray with water after use and leave the bathroom sufficiently ventilated. For deep cleaning, rinse with soap and water, or any type of bathroom cleaning product that exists on the market, cleaning it with a fine non-abrasive sponge. It is important not
use cleaning products or disinfectants that contain alcohol. Abrasive products (sponges, cloths or similar) are also not suitable for cleaning.
4.CHARACTERISTICS OF OUR PRODUCTS
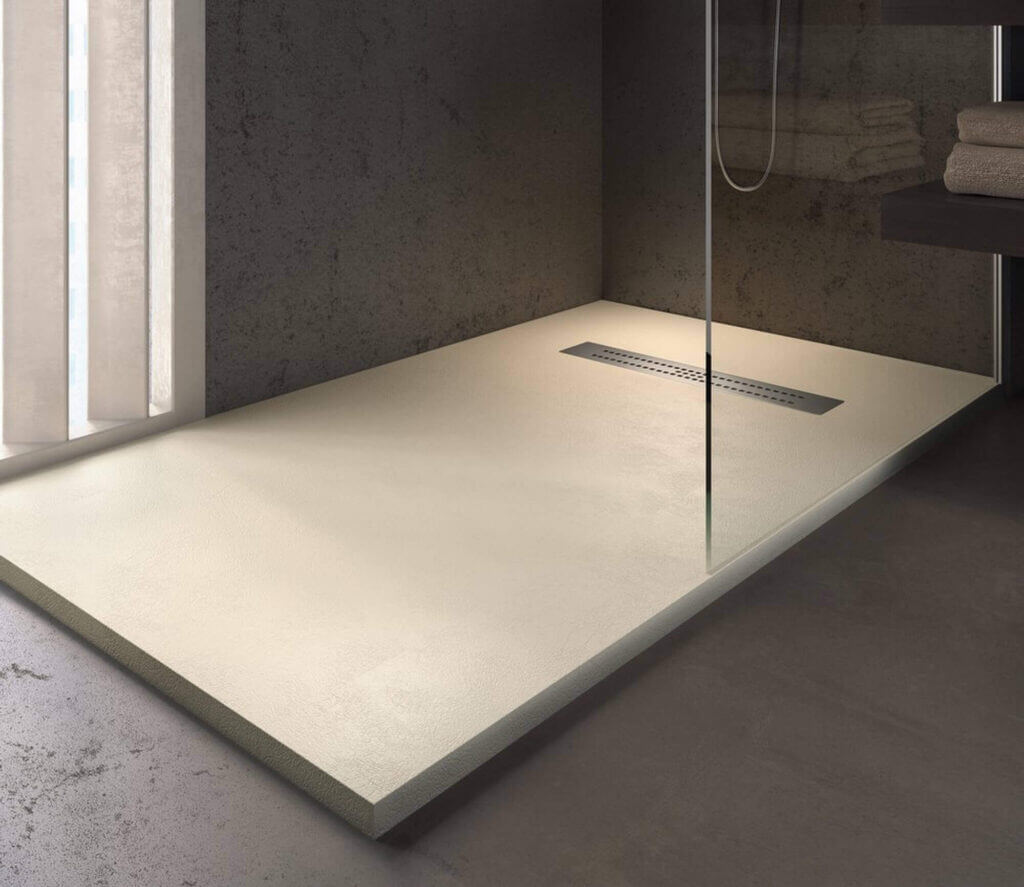
ONAREA® is synonymous with evolution, design and innovation, the different series mark a before and after in the world of the shower tray. We are talking about resistant, natural and high-performance materials
that create unique environments and spaces, at the same time provide safety thanks to its anti-slip system tested and certified by accredited laboratories.
• SINGULAR SERIES
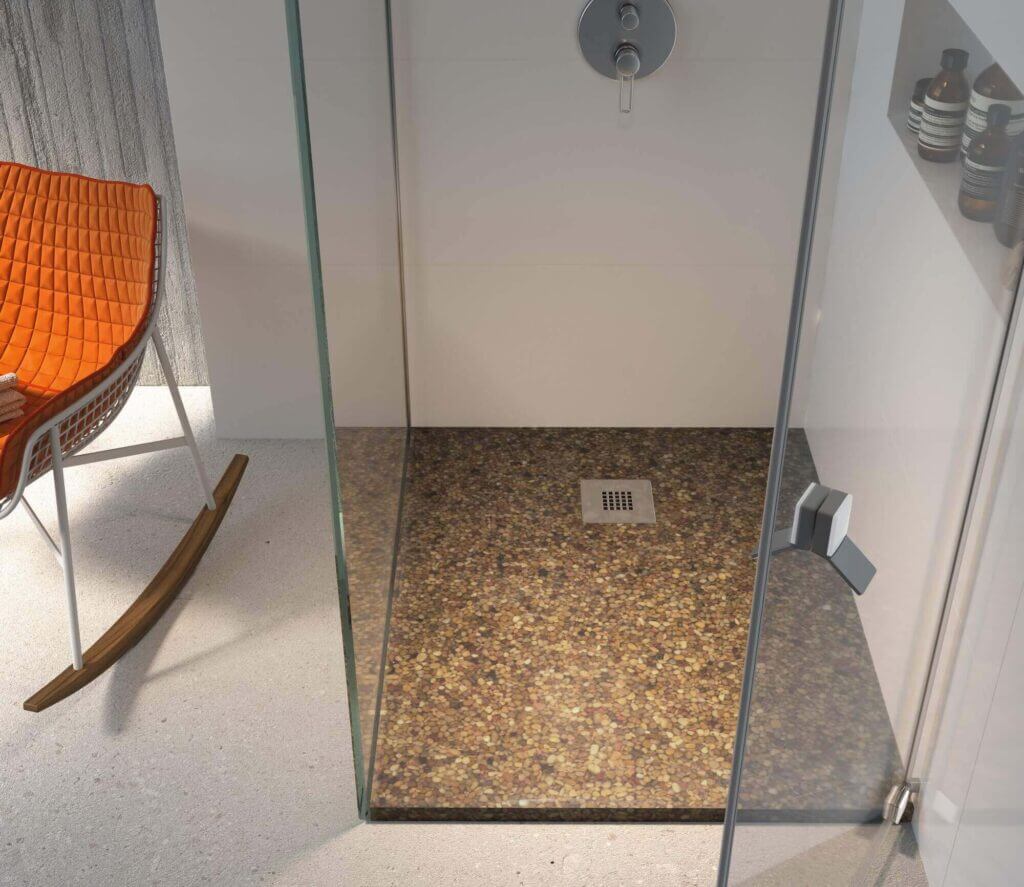
The SINGULAR series are trays made from the natural stone concept, a highly resistant and beautiful material, applying all the non-slip characteristics of conventional shower trays. These plates have a mechanical and impact resistance according to their nature, NATURAL STONE.
•FINE SERIES
The FINE series is made from a mineral resin base to which we bond our Flextone® flexible natural stone pieces, creating
an environment in line with our products. One of its greatest characteristics is the minimal absorption provided by the union of mineral resin and fiberglass.
•ARCHITECTURE SERIES
The ARQUITECT series is born from the development of mineral resin trays with textures and colors according to market needs. They are highly resistant materials with a mixture of unsaturated polyester, calcium carbonate and epoxy vinyl ester gel coat, being a non-slip product that hardly gets dirty. They have similar impact resistance to our SINGULAR series.
5. COLOR RANGE
The range of colors that we present for each series can be found throughout our general catalogue. In the SINGUALAR SERIES there are several combinations in finish, size and color, since these plates are made expressly at the request of the needs
of our clients. In the FINE series we adapt our products
to the colors of Flextone® flexible natural stone, being the ARQUITETC series the one that provides a wide possibility of colors in each texture.
6. TRAPS AND GRIDS
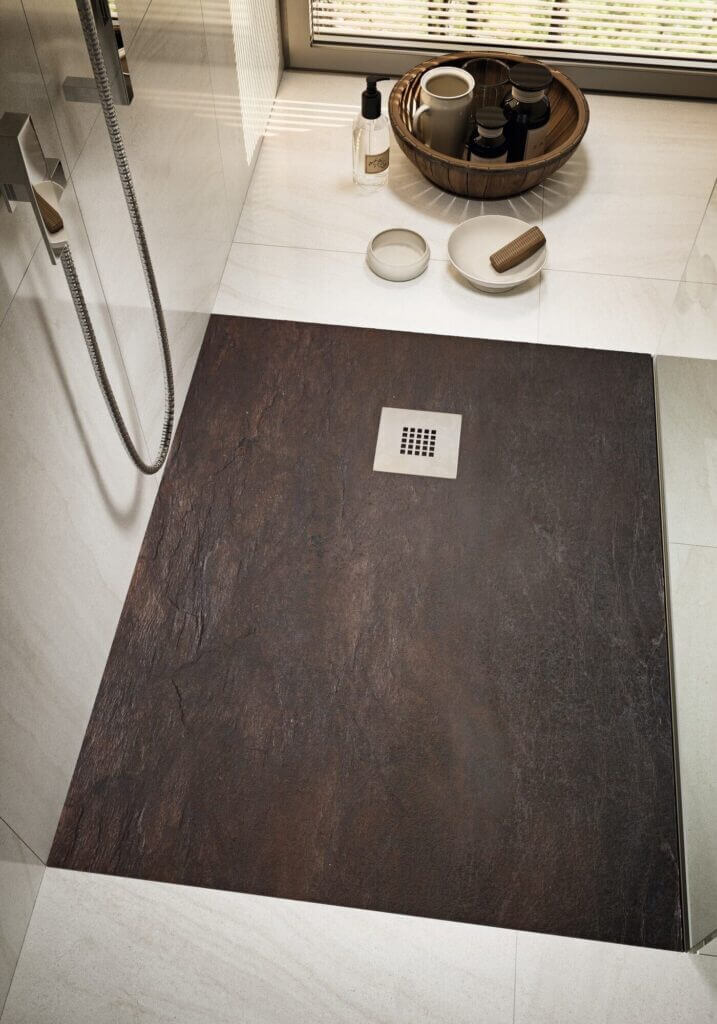
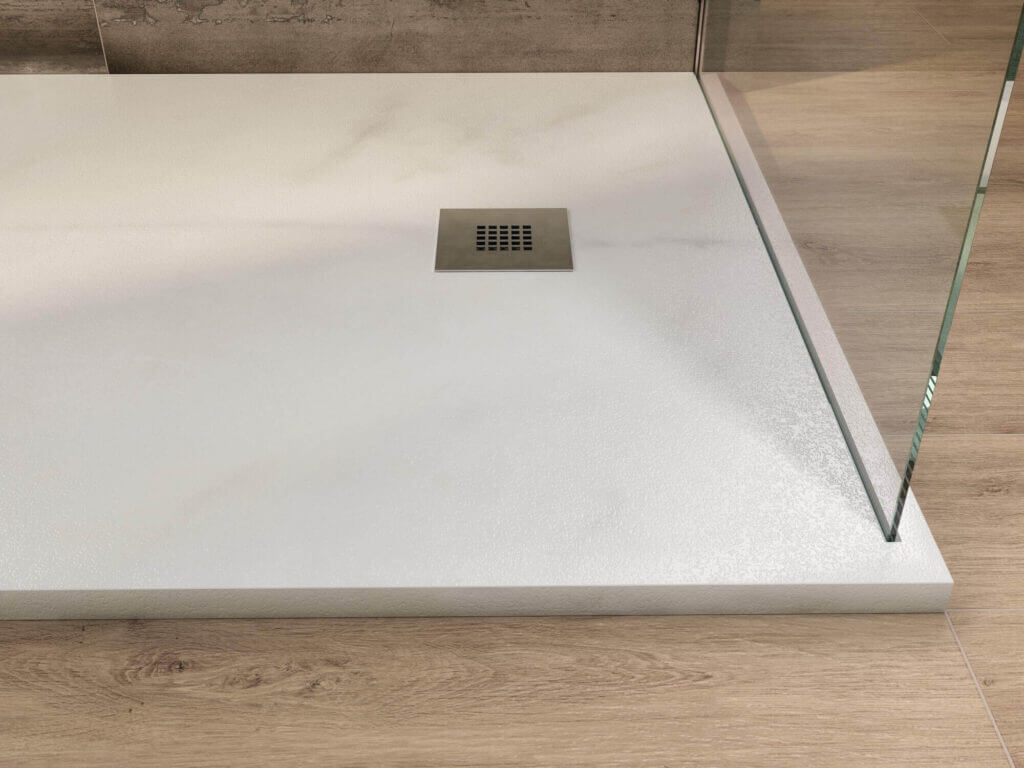
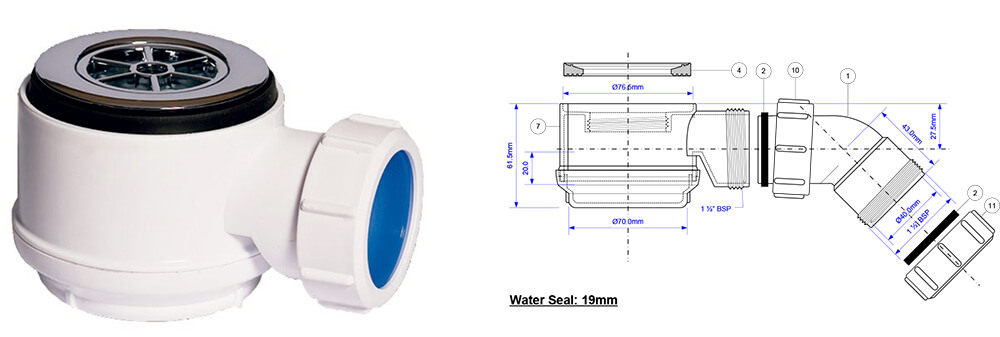
Depending on the finish of the tray, the variants of the square or rectangular grid are offered. In each of the cases, the trays will have the type of SIPHON that is required.
The TRAPS are made of ABS plastic while the grids are made of AISI 304 stainless steel with both sides polished, and have a thickness of 1.5 to 2 mm.
MIAMI SIPHON
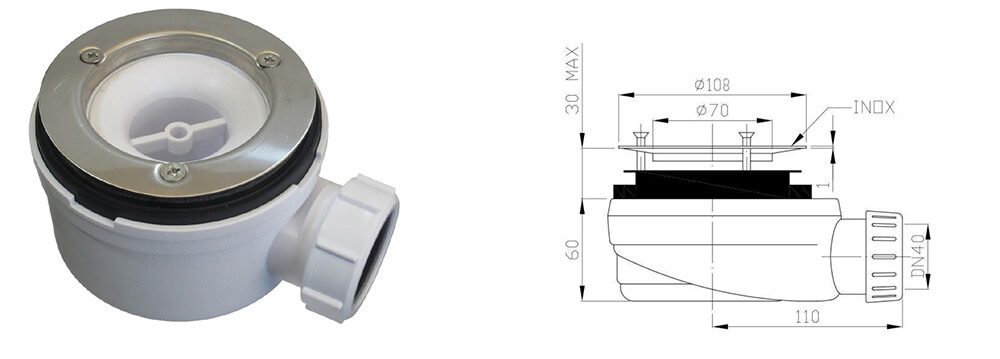
TAY SIPHON
7. CUTTING THE SINGULAR AND FINE SERIES PLATES
All Onarea® shower trays can be supplied from the factory to a specific size. The FINE series can be shipped to a standard format and cut by the customer if desired. For this, diamond discs or specific saw tools for stone cutting must be used. In the SINGULAR series, special measurements must be made from the factory given the nature of the product, and cuts cannot be made on site.
The plates can only be cut in straight cuts, not being able to make curved cuts.
In the FINE series, the cuts of the plates made in the factory will have an increase per cut made, CHECK PRICE LIST.
It is important when placing orders with special measures to correctly indicate a series of specific data:
• Measurements of width and length in mm.
• In case of cuts, indicate if it is on the left or right side. It is very important that for the cuts the measurements are exact to the need. • It is advisable to make the cuts on the plate sides so that they are placed against the wall.
1. Square cut
2. Cut at an angle
3. Cleavage
4. Combined
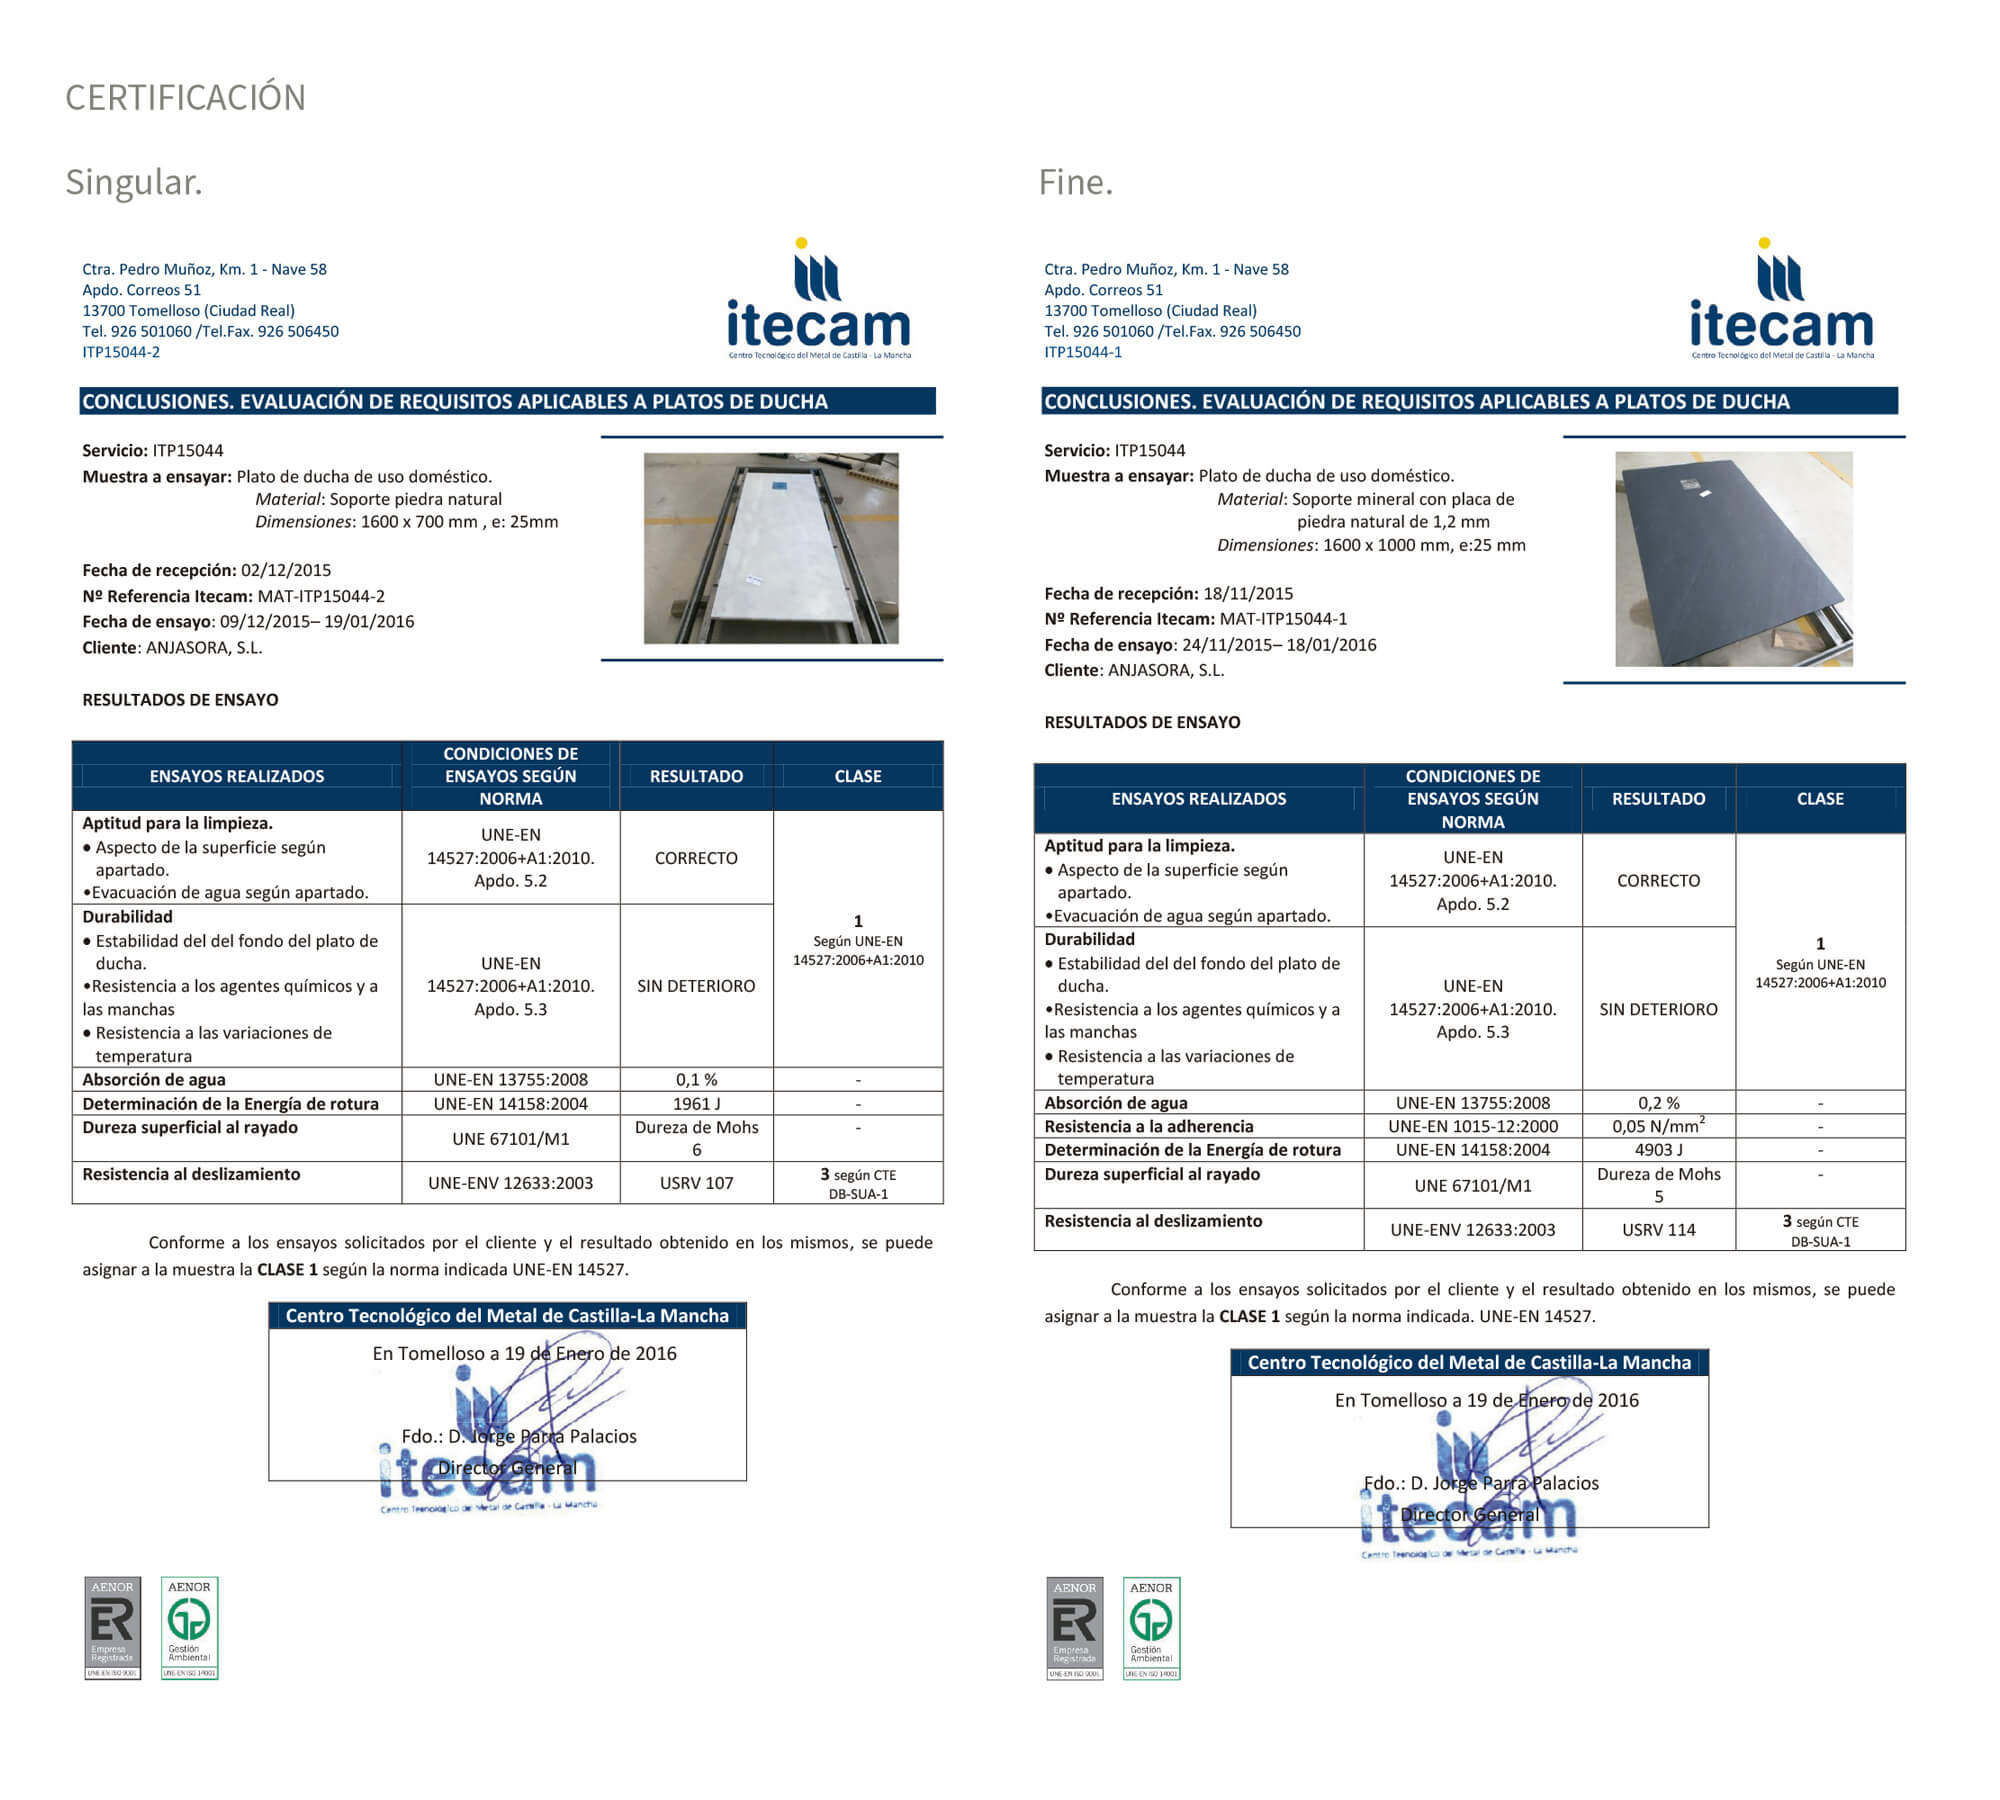
8. TESTS AND TESTS CARRIED OUT
9. ELEMENTS THAT MAKE UP A SHOWER TRAY
A. Shower tray.
B. Stainless steel grid.
C. Drain.
This manual contains the basic instructions for assembling the product and the indications that must be followed to correctly assemble the final product.
10. BASIC RULES FOR ITS ASSEMBLY
A. The packaging will be made to protect the most sensitive parts from possible aggressions or defects derived from poor transportation with the appropriate means, using polystyrene, cardboard, transparent film.
B. Onarea® is not responsible for damage caused by temporary storage outside its facilities.
C. The installation must be carried out only by an authorized technician specializing in plumbing.
D. During installation, the surfaces, coverings, wall and floor tiles of the shower trays must be protected.
E. You should avoid any type of dirt, specifically dirt that
could be caused by obstruction of the drain. The floor on which the shower tray sits must be clean, without water and dry.
F. In order to ensure a good installation, the work phases must be carried out respecting the working time.
G. It is imperative that this manual is read by the responsible operating personnel before proceeding with the installation and assembly of the SHOWER TRAY. This manual must always be available in the place where the product is located at all times.
H. Before using the product, make sure it is intact and not damaged. If damage is noticed:
· List the damage meticulously on the delivery note in case it is necessary to claim the carrier for damage to the merchandise.
· Do not use or install the product in the event of irregularities in the product.
· Contact the vendor or supplier.
· For sensitive elements or parts of the product before proceeding to remove the packaging, a visual control of it is recommended.
· Once the above points have been verified, you can proceed to install the SHOWER TRAY. This operation will be carried out by qualified personnel and always following the following order.
11. FLUSH OR RECESSED INSTALLATION OF THE SHOWER TRAY
In this type of installation, the highest part is aligned with the pavement that surrounds the shower tray, so we have the advantage that there is no type of step when accessing the shower space. This is an especially advantageous option for people with disabilities or reduced mobility, especially in those cases where the use of a wheelchair is necessary.
In this case, it is important to take into account two fundamental things:
• Measure to deepen:
On the one hand, that we have enough space in the work to get enough depth. This space must be at least equal to the sum of the plate thickness plus the necessary space required by the valve. This measurement varies depending on each model of shower tray, but as a general term in the mineral resin trays that are the most used for this type of placement, it is usually between 3 cm. and 4 cm. thick of the plate, plus another 9 or 10 cm. What does the valve need? Therefore, we will need to lower a gap of between 12 and 14 cm to the ground. There are also low profile valves for shower trays that could reduce from 10 to 6 or 7 cm. of height the measure of the valve which would mean a need of about 10 cm. full depth.
• Union finish between the tray and the pavement that surrounds it:
The other important issue to take into account is how to resolve the joint between the shower tray and the rest of the floor. It is very important that said union is perfectly sealed in order to avoid possible humidity.
or leaks in the future. In some cases there is a tendency to think that placing a shower screen on this joint will solve the problem, but this is not true since in some cases there are screens that do not have a lower guide, and even if they do, they will not cover that area. Therefore, it is important that the installer of the platform leaves this point resolved.
12. SURFACE INSTALLATION OF THE SHOWER TRAY
This type of shower tray installation is essentially very similar to the previous one but with the difference that in this case the edge of the tray is off the ground, so we will have the shower tray raised by about 3 or 4 cm. above ground level.
As in the previous case, we will need space to go deeper, although in this case we will only need the size of the hole made by the valve, that is, about 9 or 10 cm. since the thickness of the edge of the shower tray is above the surface.
In this type of shower tray installation, the joint between the tray and the floor is not so delicate since the shower tray is overlapped on the
11. FLUSH OR BUILT-IN INSTALLATION OF THE SHOWER TRAY
12. SURFACE INSTALLATION OF THE SHOWER TRAY
13.RAISED OR SEMI-RAISED INSTALLATION OF THE SHOWER TRAY
14. INSTALLATION OF PLATES
1. Before putting the adhesive on the base, check that the tray sits well and has no unevenness problems. If necessary, check with draining water.
2. Apply the adhesive (polyurethane putty or similar is recommended), distributing evenly.
3. Check the levelness of the shower tray and finish the assembly of the drain.
4. Place masking tape on the plate, never on the wall and floor. 5. Apply a joint sealant (elastic silicone with high deformation capacity is recommended) around the entire perimeter, remove the tape and leave to act according to the manufacturer’s specifications. Place the stainless steel grid.
6. Clean the tray with a non-abrasive cloth and the wall covering.
Note :
The product must not be modified for any reason, otherwise ONAREA® IS NOT RESPONSIBLE FOR ITS OPERATION.
